뭘 배우나요
Android 스튜디오의 팔레트 안에는 이미 UI를 편리하게 만들 수 있는 layout editor 가 들어 있습니다. 그렇지만 우리는 굳이 그 구성 요소들을 하나하나 뜯어보면서 UI 레이아웃을 파악하고 수정하는 방법을 알아볼 겁니다. 기능을 이해해야 나중에 잘 써먹을 수 있겠죠? 그 UI 레이아웃의 정의와 디자인을 비롯하여 기능을 수행하는 마크업 언어가 바로 XML파일입니다. 쉽게 말해서 애플리케이션의 겉모습을 만들었을 때의 모습이라고 할 수 있겠네요.
안드로이드 앱의 UI는 계층 구조의 XML파일로 이루어져 있습니다. 이러한 구성 요소들은 사용자 인터페이스의 핵심을 이루며, 다양한 방식으로 배치되고 조절됩니다. 예시로 보는 게 더 쉽겠네요. 안스(Android 스튜디오는 그냥 안스라고 하겠습니다)에서 만들어두었던 tiptime앱을 열어주고, activity_main.xml을 찾아줍니다.
<?xml version="1.0" encoding="utf-8"?>
<androidx.constraintlayout.widget.ConstraintLayout
    xmlns:android="http://schemas.android.com/apk/res/android"
    xmlns:app="http://schemas.android.com/apk/res-auto"
    xmlns:tools="http://schemas.android.com/tools"
    android:layout_width="match_parent"
    android:layout_height="match_parent"
    tools:context=".MainActivity">

    <TextView
        android:layout_width="wrap_content"
        android:layout_height="wrap_content"
        android:text="Hello World!"
        app:layout_constraintBottom_toBottomOf="parent"
        app:layout_constraintLeft_toLeftOf="parent"
        app:layout_constraintRight_toRightOf="parent"
        app:layout_constraintTop_toTopOf="parent" />

</androidx.constraintlayout.widget.ConstraintLayout>
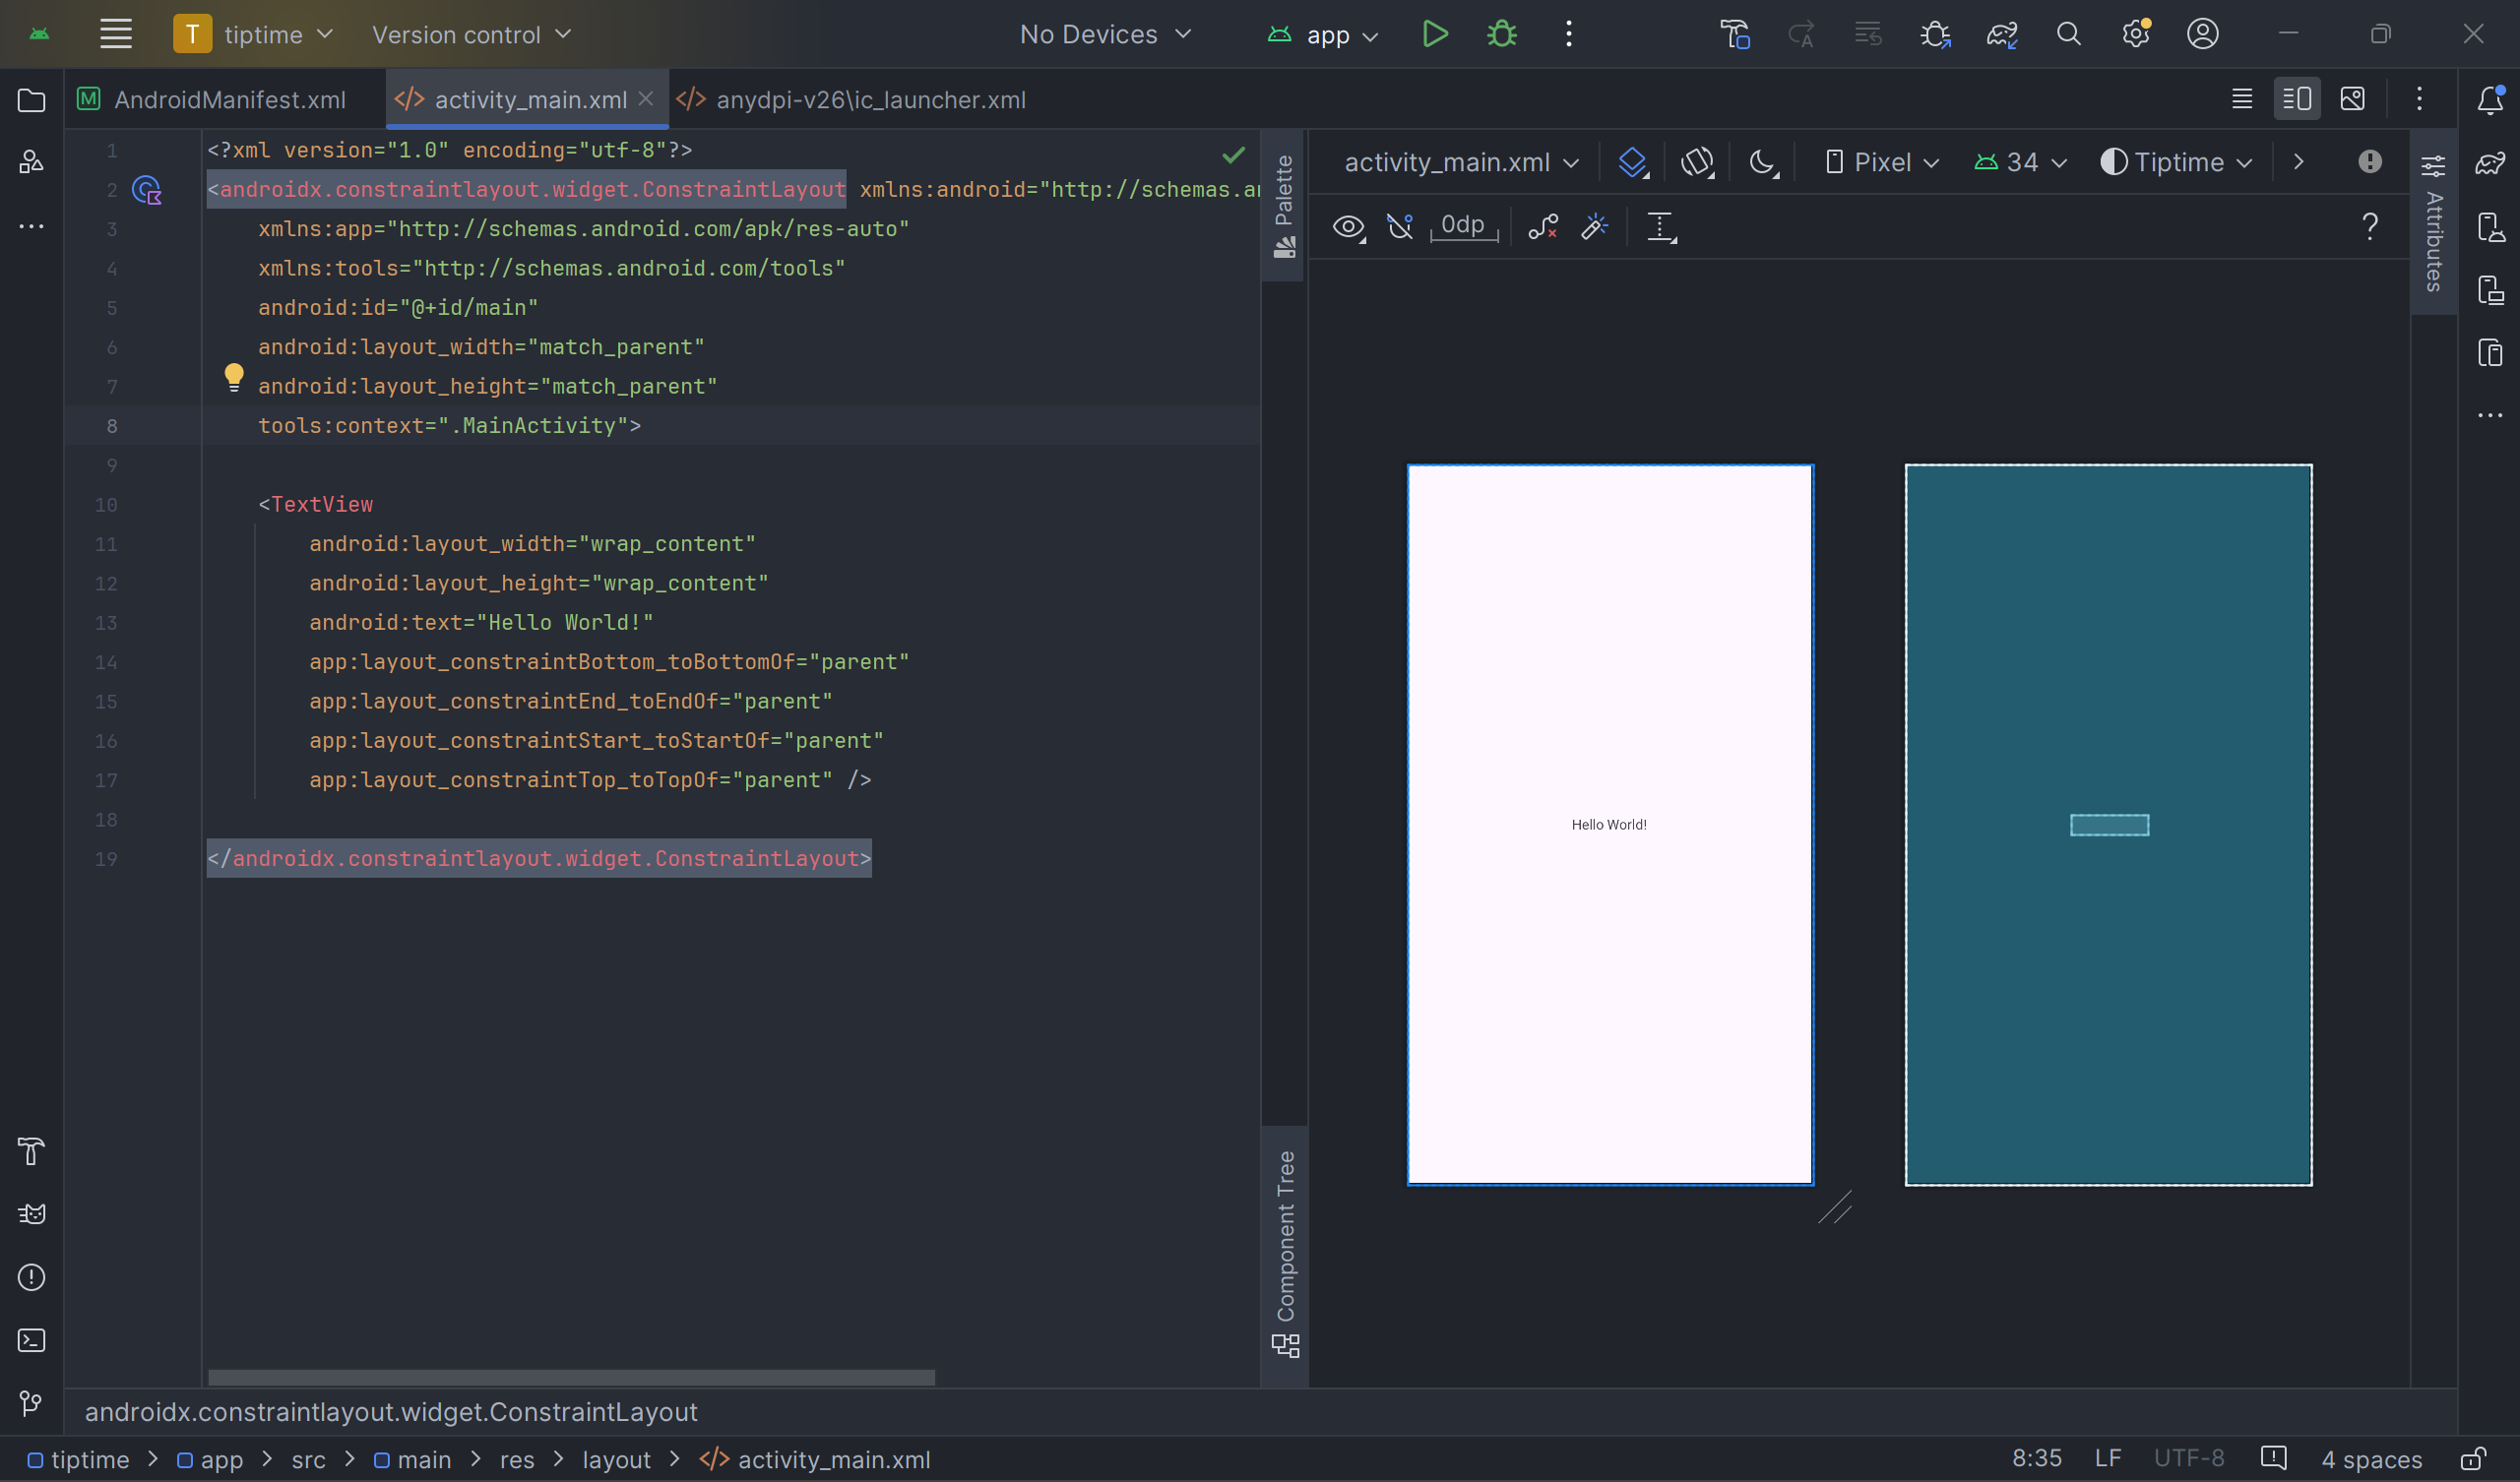
위 파일은 안스 안 activity_main.xml 파일입니다. 들여쓰기로 계층 구조가 분리되어 있다는 걸 볼 수 있습니다. TextView는 ConstrainrLayout에 포함되어 있으므로, 각 요소는 자동으로 들여쓰기 되어 요소의 일부분임을 나타냅니다.
조금 더 자세하게 봅시다.
<TextView
    android:text="Hello World!" />
이 줄에서 <TextView가 있는 줄은 태그의 시작 부분이고, "/>" 가 있는 줄은 태그의 끝부분입니다. android:text="Hello World!"가 있는 줄은 태그의 속성으로, TextView에서 표시할 텍스트를 나타냅니다. 지금 보시는 코드는 약식 표현이고, 다음과 같이 별도의 시작 태그와 종료 태그로 작성해도 같은 의미를 나타냅니다.
<TextView
    android:text="Hello World!"
></TextView>
근데 약식이 있는데 굳이 복잡하게 적을 필요가 있을까요? 원래 기타도 파워코드 나오면 무조건 약식으로 잡ㅇ
하지만 TextView요소를 감싸고 있는 ConstraintLayout는 별도로 종료 태그를 넣어줘야 합니다. 내부에 다른 요소를 보유해야 하기 때문이죠.
이번에는 TextView말고 Button요소도 추가해 보도록 하겠습니다.
<androidx.constraintlayout.widget.ConstraintLayout>
    <TextView
        android:text="Hello World!" />
    <Button
        android:text="Calculate" />
</androidx.constraintlayout.widget.ConstraintLayout>
별로 어렵지 않습니다.
이쯤에서 </androidx.constraintlayout.widget.ConstraintLayout> 는 뭘까 하는 생각이 드실 건데, ConstraintLayout은 핵심 Android 플랫폼 외에도 추가 기능을 제공하는 코드 라이브러리가 포함된 Android Jetpack의 일부인 레이아웃이기 때문입니다. 이건 나중 가서 배울 거니까, ConstraintLayout는 좀 특별한 아이구나 하고 넘어가시면 됩니다.
그리고 위에 보시면 xmlns:로 시작하여 android, app, tools로 이어지는 줄이 있습니다.
xmlns:android="http://schemas.android.com/apk/res/android"
xmlns:app="http://schemas.android.com/apk/res-auto"
xmlns:tools="http://schemas.android.com/tools"
이건 네임스페이스라는 건데, 각 줄은 스키마(XML 문서의 구조와 요소들이 가져야 하는 형식을 정의)나 속성의 어휘를 정의합니다. 뜻은 다음과 같습니다:
- xmlns:android="http://schemas.android.com/apk/res/android": 안드로이드 프레임워크에서 제공하는 기본 속성들을 사용할 수 있도록 하는 네임스페이스입니다. android: 접두사가 붙은 속성들은 안드로이드 시스템에서 미리 정의된 속성들을 나타내게 됩니다.
- xmlns:app="http://schemas.android.com/apk/res-auto": 앱의 코드나 라이브러리에서 정의한 사용자 지정 속성을 사용할 수 있도록 합니다.
- xmlns:tools="http://schemas.android.com/tools": 레이아웃 파일을 디자인할 때만 사용되는 특수한 도구 속성들을 사용할 수 있도록 합니다.
이제 어느 정도 알아보았으니, 다음 포스트에서는 XML로 레이아웃을 직접 만들어보도록 하겠습니다.
'Project > Android' 카테고리의 다른 글
| [Android] Activity와 ViewBinding으로 화면 전환하기 (0) | 2024.04.01 |
|---|---|
| [Android] [팁 계산기] 5. 나머지 레이아웃 추가 (2) | 2024.03.27 |
| [Android] [팁 계산기] 4. 팁 옵션 추가하기 (0) | 2024.03.26 |
| [Android] [팁 계산기] 3. XML로 레이아웃 만들기 (0) | 2024.03.26 |
| [Android] [팁 계산기] 1. 템플릿 (0) | 2024.03.25 |


댓글